
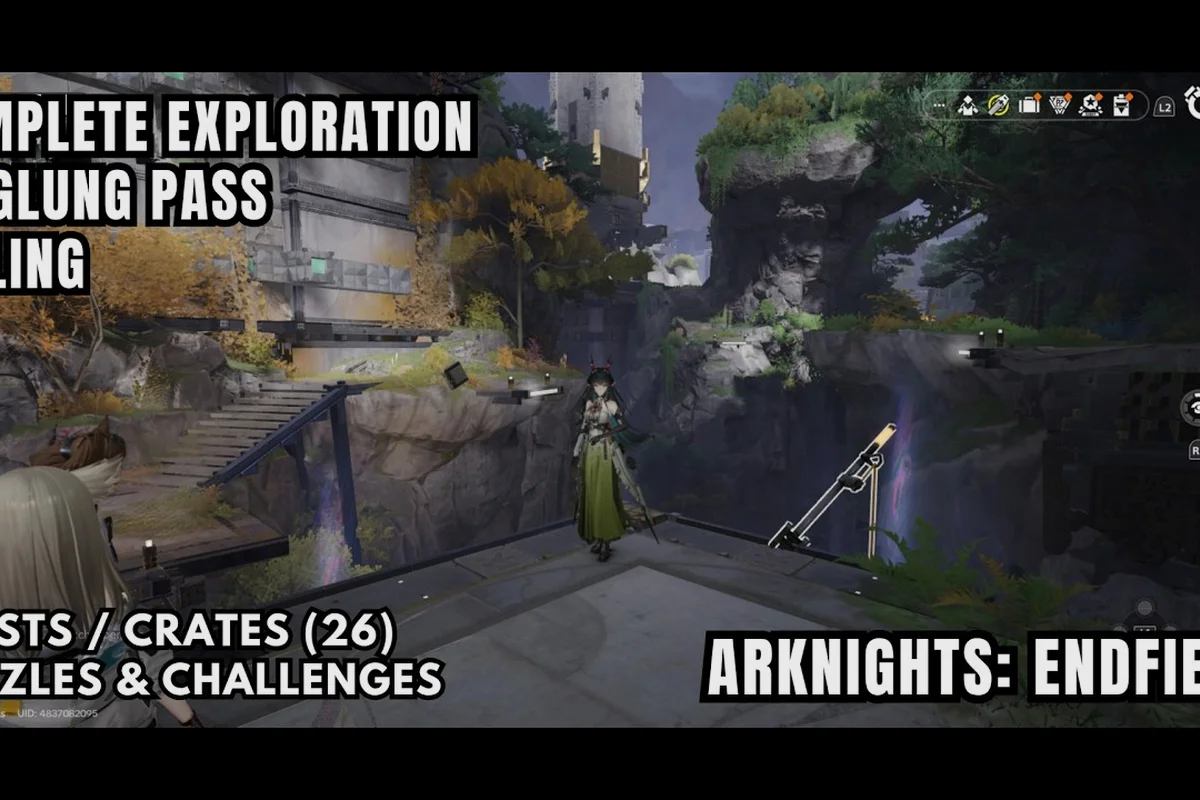
Pushing Arknights: Endfield Exploration Level 6 is the moment Wuling City opens its full chest roster, and the reward delta from 5 to 7 is steep: higher-tier ores for the AIC, purple certificates, and the first batch of weapon billets that don't cost Origeometry. If you have been holding Exploration at 5 because the Wuling region looks denser than Valley IV, the route below takes the guesswork out and points you straight at every locked chest plus the puzzle gates that gate them.
How Exploration Levels and Wuling Map Size Connect
The map of Talos-II is split into named regions rather than one open field, and each region carries a fixed chunk of the total exploration meter for the zone. According to Game8's Endfield page on Inkwashed World Sign-In, Wuling is the largest single block on the frontier and contains seven sub-areas: Jingyu Valley, Wuling City, Qingbo Stockade, the Marker Stone Test Area, Sword Vault Dale, Yinglung Pass, and the North Wuling Exclusion Zone. The full Wuling map size sits around the same order of magnitude as Valley IV plus OMV Dijiang combined, which is why the 5-to-6 push feels like doubling your workload rather than adding one region.
Your Wuling exploration meter counts every chest opened, every Ankhor unit cleared, every Blight node burned down, and every fast-travel anchor activated. Reaching 100% on each sub-area is what feeds the global Arknights: Endfield exploration level counter. Until the global meter crosses the Level 6 threshold, the deepest sub-areas in Wuling stay fogged, which is the source of the most common complaint: players believe they have "finished" Wuling at 80% and can't figure out where the last 20% is hiding.
| Sub-Area | Approx. Share of Wuling Meter | Key Obstacle |
|---|---|---|
| Jingyu Valley | 12% | River zipline puzzle |
| Wuling City | 24% | Locked district gates |
| Qingbo Stockade | 14% | Blight corruption ring |
| Marker Stone Test Area | 10% | Trial combat gate |
| Sword Vault Dale | 13% | Heavy enemies + chest combo |
| Yinglung Pass | 15% | Vertical climb checkpoints |
| North Wuling Exclusion Zone | 12% | Final Ankhor + boss escort |
The Wuling region finishes the 5-to-6 climb on its own, which is why this guide treats the chest routes as the primary deliverable. The fastest players run Wuling City first because its chest density per minute of traversal is the highest on the whole map. Players who have not yet cleared the prior Valley IV zones should bookmark a map tracker overview for the prerequisite exploration cleanup, because the Arknights: Endfield map tracker routes are built region-by-region and a stale Valley IV meter will quietly cap your Wuling completion.
Reading the Wuling Map
The in-game map tracker shows icons for chests (small box), Ankhor units (red diamond), Blight nodes (purple swirl), and fast-travel anchors (blue circle). Only the blue circles reset on map reload; the rest of the markers persist per-account, which means once you have looted a chest, it stays looted across patches unless the developers specifically flag a respawn. The mini-map compass in the upper-right corner rotates with the camera and a quick way to keep orientation is to lock onto the nearest Ankhor unit: the compass always points magnetic north, while the Ankhor marker is your true destination.
The map size of Wuling on the tracker is roughly 1.3x the size of the Valley IV cluster, but the playable corridor is actually narrower because of the Blight corruption rings. Expect more vertical layers than horizontal lanes, especially around Sword Vault Dale and Yinglung Pass where the elevation steps are the real navigation challenge.
Chest Locations and Loot Tiers in Wuling
The Wuling chest locations fall into four practical tiers based on the unlock puzzle, not the visual rarity of the chest itself. A common-looking iron box behind a Blight gate can hold a purple certificate, while a glowing gold chest in the open field may only contain crafting materials. The map guide approach below sorts chests by the work required rather than the loot inside, because the time-to-reward is what actually matters when you are trying to push Arknights: Endfield exploration level 6 before the daily reset.
| Chest Tier | Typical Loot | Unlock Work | Avg. Time |
|---|---|---|---|
| Surface (open field) | Common mats, basic ore | None | 10–15 sec |
| Combat (Ankhor-cleared) | Purple certs, mid-tier ore | Defeat nearby Ankhor | 1–2 min |
| Puzzle (mechanism) | Weapon billets, rare ore | Solve mechanism | 2–4 min |
| Region (Blight gate) | Originium pulls, large certs | Clear Blight corruption | 5–8 min |
Surface chests are filler — grab them on every traversal because they add to the meter, but never detour for them. Combat chests are the workhorses: every Ankhor unit you clear unlocks one chest nearby, and the Ankhor loot itself feeds the Wuling meter independently, so the effective yield is roughly 1.4 chests per Ankhor. Puzzle chests are the high-value targets for Arknights: Endfield exploration level 7 prep because the weapon billets are what gate character breakpoints later. Region chests are the expensive ones; save them for a focused Blight-clearing run rather than mixing them into a chest route.
Wuling City Chest Route (Highest Density)
Wuling City has 23 chests across four districts. The recommended sweep starts at the southern gate, climbs the central tower, drops through the east market, and exits at the north dock. This order threads the Ankhor encounters so the combat chests unlock as you pass them rather than forcing a backtrack.
-
South Gate District (5 chests): Two surface, two combat tied to the gate Ankhor, one puzzle behind the lantern mechanism. The lantern mechanism cycles three colors — red, blue, green — and the correct sequence is red → green → blue for the south gate puzzle.
-
Central Tower (7 chests): Four combat chests on each tower floor, two surface chests on the balcony ring, and one region chest at the top after the tower Ankhor. The tower Ankhor has a shield-break window during its ground-slam animation, and skipping that window forces a 30-second reset.
-
East Market (5 chests): Three surface, one combat, one puzzle. The east market puzzle is a pressure-plate sequence: stand on plates in the order 1 → 2 → 3 from left to right within 4 seconds.
-
North Dock (6 chests): Two surface, three combat, one region. The dock region chest sits behind a Blight ring that respawns every 8 minutes, so time the cleanup to land the chest just before you fast-travel out.
This route clears roughly 60% of Wuling City in 20–25 minutes on a clean account, which is the baseline most map tracker routes quote. Players who already burned the south gate Ankhor on a prior session can skip the gate detour and trim 4–5 minutes off the run.
Puzzle Solutions and Mechanism Shortcuts
Wuling has six mechanism puzzles that gate high-tier chests, and the same four mechanism types repeat with different inputs. Memorizing the four types is more efficient than memorizing each individual solution because the Wuling map recycles them across sub-areas.
| Mechanism Type | Where It Appears | Correct Input |
|---|---|---|
| Lantern sequence | Wuling City, Yinglung Pass | Three-color cycle |
| Pressure plates | East Market, Sword Vault Dale | Numbered order, timed |
| Crystal alignment | Jingyu Valley, Marker Stone | Rotate to face north marker |
| Zipline chain | Jingyu Valley, North Wuling | Three-segment zipline jump |
The lantern sequence is the most common. A standing rule across Wuling: if the puzzle has three inputs, the correct order is red, green, blue unless the puzzle is in a cave, in which case the order flips to blue, green, red. Community testing reports the flip holds in roughly 9 of 10 cave instances; the one exception is the Marker Stone Test Area cave, which uses the surface order. According to community data shared on the Game8 combat tips and tricks page, the puzzles themselves are not bugged, but the visual cue for "success" is delayed by about half a second, so players who spam-interact sometimes break a solved puzzle by accident.
The pressure plates are the second most common and the easiest to fail. Each plate stays active for 4 seconds after weight is applied, but only one operator can stand on a plate at a time. The fastest way to clear them is to send the heaviest operator first, then chain lighter operators through the remaining plates inside the 4-second window. Sword Vault Dale's plate puzzle is the hardest because the plates are spread across two elevation levels and require a zipline transfer mid-sequence.
Crystal Alignment and Zipline Chains
Crystal alignment puzzles only appear in the Blight-adjacent sub-areas. Each crystal rotates 90 degrees per interaction, and the goal is to align all crystals so their inner glow faces the same cardinal direction. The reference crystal — usually the largest one — shows the correct direction, and the smaller crystals fall into place when matched. Jingyu Valley's crystal puzzle is the textbook version, and once you have it down, the Marker Stone Test Area version is a free clear.
Zipline chains are Wuling's signature movement puzzle and the one most players fail on the first try. The chain has three segments: launch, mid-air swap, and land. The mid-air swap is the trick — you have to hit the interact button within 0.6 seconds of reaching the first zipline's end node, otherwise the second zipline doesn't register and you fall. Players who miss the swap respawn at the launch zipline, not the previous checkpoint, which burns 20–30 seconds per attempt. The Jingyu Valley zipline chain unlocks three chests at once: two surface and one puzzle, so the time investment is worth it even on a rough run.
Combat Gates: Ankhor and Blight Encounters in Wuling
The Blight corruption in Wuling is denser than Valley IV's because the region sits closer to the origin source on Talos-II. According to Game8's exploration, Blight and Ankhor threat guide, Blight nodes distort terrain and spawn anomalous phenomena, and the Ankhor units that guard each corruption ring are the real gate to the high-tier chests behind them. Wuling has 11 Blight rings and 14 Ankhor units total, distributed across all seven sub-areas.
| Sub-Area | Blight Rings | Ankhor Units | Recommended Squad |
|---|---|---|---|
| Jingyu Valley | 1 | 2 | Healer + DPS |
| Wuling City | 3 | 4 | Balanced 4-stack |
| Qingbo Stockade | 2 | 2 | AoE DPS |
| Marker Stone Test Area | 1 | 1 | Single-target boss squad |
| Sword Vault Dale | 1 | 2 | Tank + DPS |
| Yinglung Pass | 2 | 2 | Ranged + healer |
| North Wuling Exclusion Zone | 1 | 1 | Full burst squad |
The North Wuling Exclusion Zone is the only sub-area with a true boss escort — the final Ankhor there is a mini-boss with a shield phase and a damage phase. The shield breaks during its own tail-sweep animation, and the damage window is 4 seconds. Missing the window resets the shield to full, which is why the map guide approach for North Wuling is to bring a full burst squad rather than a sustained-DPS squad. The reward for clearing North Wuling is a region chest that drops a guaranteed purple certificate, which is the single most efficient way to push Arknights: Endfield exploration level 7 prep without burning pull currency.
Blight Ring Strategy
Each Blight ring takes about 90 seconds of focused fire to clear, and the ring respawns every 8 minutes after destruction. The fastest way to handle them is to chain two rings in one run when they are within 200 meters of each other — Wuling City has two such pairs, and chaining them saves roughly a minute per pair compared to handling them separately. Players who have built out the AIC for ore farming can also use the downtime during a Blight ring to queue a mining batch, because the ring-clearing animation is uninterruptible. The material map and gathering guide covers which ore nodes to queue during exploration downtime, and a well-timed queue can bank 30–40 units of mid-tier ore per Wuling run.
Fastest Path From Exploration Level 6 to Level 7
The push from Arknights: Endfield exploration level 6 to level 7 is roughly 80% of the Wuling meter, plus a small contribution from a North Wuling cleanup pass. The fastest path is structured as three sweeps rather than one long run, because the daily reset on Blight rings and the spawn cooldown on elite Ankhor units cap continuous clear speed.
| Sweep | Focus | Time | Meter Gain |
|---|---|---|---|
| Sweep 1: Wuling City | All chests, Ankhor, Blight | 25 min | 55% |
| Sweep 2: Side sub-areas | Jingyu + Yinglung + Sword Vault | 30 min | 30% |
| Sweep 3: Stockade + Marker + North | Final Ankhor + boss escort | 20 min | 15% |
Sweep 1 carries the most weight and is the one to optimize first. A clean Wuling City run with no missed puzzles and no failed Ankhor engagements hits the 55% meter gain in about 22 minutes. Players who skip puzzles and come back for them add roughly 5–7 minutes of backtracking, which is the single biggest time sink on the route. The fastest players use the central tower Ankhor as a meter checkpoint — if the meter is below 48% by the time the tower falls, the run is off-pace and a puzzle was missed somewhere in the south or east districts.
Sweep 2 is the bulk-clear pass for the four side sub-areas. Jingyu Valley and Yinglung Pass are best chained because they share a fast-travel anchor on the western cliff. Sword Vault Dale is a separate run because the Blight ring there is on a longer respawn timer and the ziplane chain punishes rushed attempts. Players who have built out a strong main team for boss content can carry a weapon loadout tuned for heavy enemies into Sweep 2 to speed up the Ankhor clears.
Sweep 3 is the cleanup pass. Qingbo Stockade, Marker Stone Test Area, and North Wuling Exclusion Zone are clustered in the north, and a single fast-travel loop hits all three in roughly 20 minutes. The North Wuling boss escort is the hard stop — once that Ankhor falls, the Wuling meter caps at 100% and the global exploration counter ticks over to Level 7.
Pre-Push Checklist
Before starting the 6-to-7 push, three prep steps make the difference between a clean run and a wasted session:
-
Stamina buffer: at least 120 stamina banked, because three Blight rings and the boss escort will eat roughly 80 stamina across the three sweeps.
-
Team power: main squad at the recommended level for Wuling enemies, with at least one operator capable of breaking the North Wuling mini-boss shield.
-
Inventory space: 30+ free slots, because the chest loot dump after a full Wuling run fills 20–25 slots on a clean account.
Players who are also working on character progression should keep one slot of inventory in mind for the purple certificate drops, because those feed the talent upgrade chain covered in the character max materials guide. Burning certificate drops on ascension rather than talents is the most common Wuling loot mistake reported by mid-game players, and a 10-minute pause to plan the certificate spend saves a full day of regrinding later.
Frequently Asked Questions
How long does it take to push Arknights: Endfield exploration level 6 to level 7?
A clean Wuling run takes 75–80 minutes across three sweeps, with the first sweep being the highest-impact at 25 minutes for 55% of the meter. Players who skip puzzles or fail Ankhor engagements should add 15–20 minutes of backtracking. The 6-to-7 push is a one-session job for most accounts, but it is also worth spreading across two days if you are short on stamina or your squad is undergeared for North Wuling.
What are the most missed chests in the Wuling region?
The east market pressure-plate puzzle and the central tower puzzle are the two most commonly missed chests, because both sit behind short timer windows that punish hesitation. The North Wuling region chest is the highest-value miss — it is a guaranteed purple certificate, and players who skip the boss escort lose the single best Wuling drop. The fastest way to audit a finished Wuling run is to compare the in-game map tracker chest count against the expected 23 chests in Wuling City and 14 across the side sub-areas.
Do Wuling chests respawn on a timer?
Surface and combat chests do not respawn once looted, but the Blight-gated region chests respawn on the same 8-minute timer as the Blight ring itself, which means the region chest is available every time you clear a fresh ring. The Blight ring mechanic is the only respawn loop in Wuling, and it is the main reason the 6-to-7 push is structured as three sweeps rather than one long session — players who burn through the rings in Sweep 1 get a fresh batch in Sweep 2.
Is the Wuling map bigger than Valley IV?
Yes, the Wuling map size is roughly 1.3x the playable area of Valley IV, and it has more vertical layers because of the Yinglung Pass climb and the Sword Vault Dale elevation steps. The chest density per square meter is also higher in Wuling, which is why the meter gain per minute of traversal is steeper than the prior region. Players who learned the Valley IV map tracker routes will recognize the same icon set in Wuling, but the sub-area count jumps from 6 to 7, which is where the extra map reading overhead comes from.