
Teams
Arknights: Endfield team comps for story, bosses and endgame modes, with rotation notes explaining why each four-operator squad actually works.
Introduction
Team comps are the core strategic layer of Arknights: Endfield, because four operators share a single skill gauge holding only three charges. That constraint means team building is really gauge budgeting: you are deciding whose tactical skills deserve the charges, who generates the pressure that fills the gauge back up, and who keeps the squad alive long enough to convert a burst window. The comps here are grouped by purpose, from story progression to boss kills and mono-element checks. Read the comps as templates rather than fixed lineups: each entry explains what job every slot is doing, so you can substitute an operator you actually own as long as the role and gauge demand still match, which is the property that makes the team work.
Squad Role Coverage
| Slot | Job | Gauge Demand |
|---|---|---|
| Carry | Converts imbalance windows into burst damage | High |
| Imbalance builder | Fills the enemy meter with cheap repeatable attacks | Low |
| Support | Returns gauge efficiency and buffs the squad | Medium |
| Anchor | Absorbs pressure so the build phase can continue | Low |
Team Comps
Beginner Squad
Clears the story without a single banner pull
Boss Killer
Imbalance chaining against single targets
Mono-Element
Match the weakness, ignore the tier list
Elemental Coverage
Two damage types for mixed enemy waves
Free-to-Play Core
Built entirely from story unlocks
Core Mechanics
Every squad shares three skill gauge charges. Heavy attacks from any operator refill the gauge and push the enemy's imbalance meter upward, and a full meter opens a short imbalance window where damage is amplified and the next heavy attack becomes an execution attack. Rotations therefore alternate between a build phase that uses cheap, repeatable attacks and a spend phase that dumps gauge charges into the window. Teams that cannot generate imbalance stall out regardless of their damage numbers. Because the gauge refills through heavy attacks from any squad member, a team's damage output depends heavily on how often those attacks land, which is why attack cadence and stagger pressure outweigh raw per-hit numbers in most endgame fights.
Advantages
A well-built comp removes the guesswork from difficult stages. Because the gauge is the bottleneck rather than raw damage, a squad chosen with the rotation in mind clears content that a higher-rarity but gauge-hungry team cannot, and the difference is visible immediately in how often the imbalance window opens. Structured comps also make it obvious which single operator to replace when a stage is failing, instead of prompting a rebuild. The clearest benefit of structured comps is faster diagnosis. When a stage fails, the role framework tells you whether the problem was damage, stagger generation, survival or gauge starvation, so you replace one slot rather than rebuilding the squad.
Challenges
Team recommendations assume a roster you may not have. Comps built around specific six-star operators are useless to an account that has not pulled them, and substitutions change the rotation enough that the listed timings stop applying. Enemy composition also varies by stage, so a comp that clears one Umbral Monument floor comfortably can be the wrong answer one floor later even with identical investment. Comp entries also assume a stable version. When balance changes shift gauge costs or skill multipliers, a rotation that used to line up can drift enough that the listed timings stop applying, and re-testing the comp on a familiar stage is the only reliable check.
Frequently Asked Questions
How do I build a team in Arknights: Endfield?+
What is the best team for bosses?+
Do I need element-matched teams?+
Quick Tips
Treat the three gauge charges as the squad's real health bar. Spending a charge outside the imbalance window is usually a mistake, because charges do not regenerate quickly and the window is where every multiplier you invested in actually applies. Count how many gauge charges your heavy attacks actually generate during a fight, because a squad that cannot refill the gauge is limited no matter how strong its individual operators are.
Pair a cheap stagger source with every expensive carry. The carry supplies the burst, but someone has to fill the enemy imbalance meter first, and that job should sit with an operator whose attacks are repeatable rather than with the operator you are trying to save charges for. Replace one slot at a time when a comp fails, so you can tell which change fixed the problem instead of guessing at a full rebuild.
Test comps on a stage you can already clear. Swapping two operators and running a familiar fight shows rotation problems immediately, whereas testing on new content mixes rotation mistakes with unfamiliar mechanics and makes the failure hard to attribute. Match gauge demand across the whole squad before checking tier placements, since four expensive carries starve each other while cheap utility operators keep the burst window coming back.
Featured
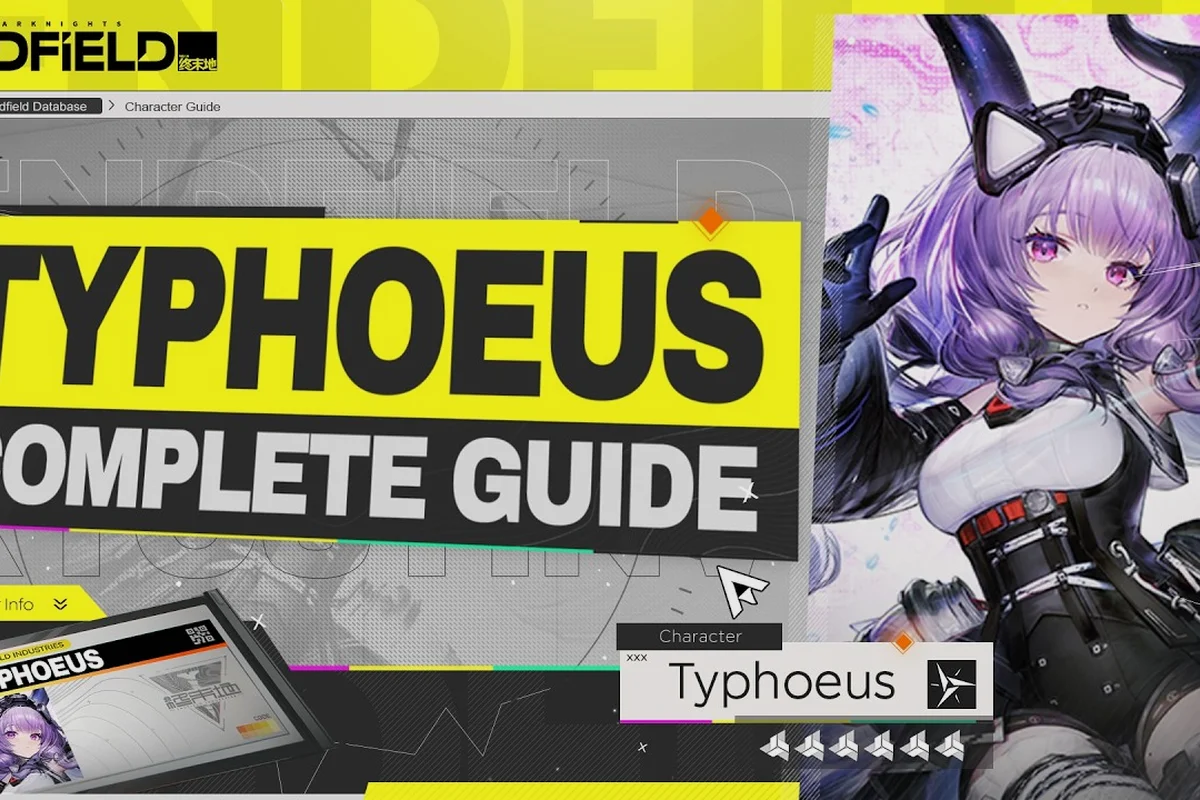
Arknights: Endfield Defender Team: Frontline, CC & Burst
Anchor your Arknights: Endfield defender team with tanky frontlines, crowd control picks, and burst rotations that break imbalance windows on demand.
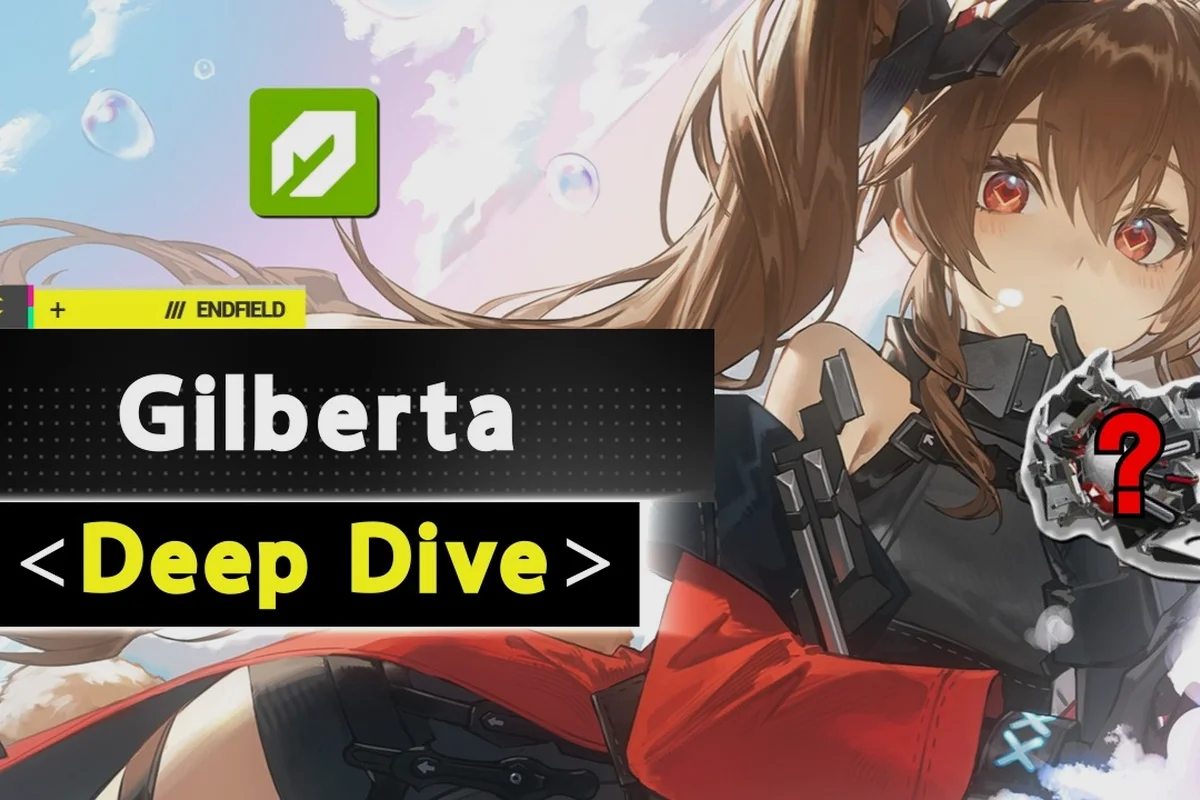
Arknights: Endfield Gilberta Team: Nature Corrode Support
Build the strongest Arknights: Endfield Gilberta team around her Nature Corrode debuff, with the gauge-aware Vanguard, Defender, and Cryo partners she needs.
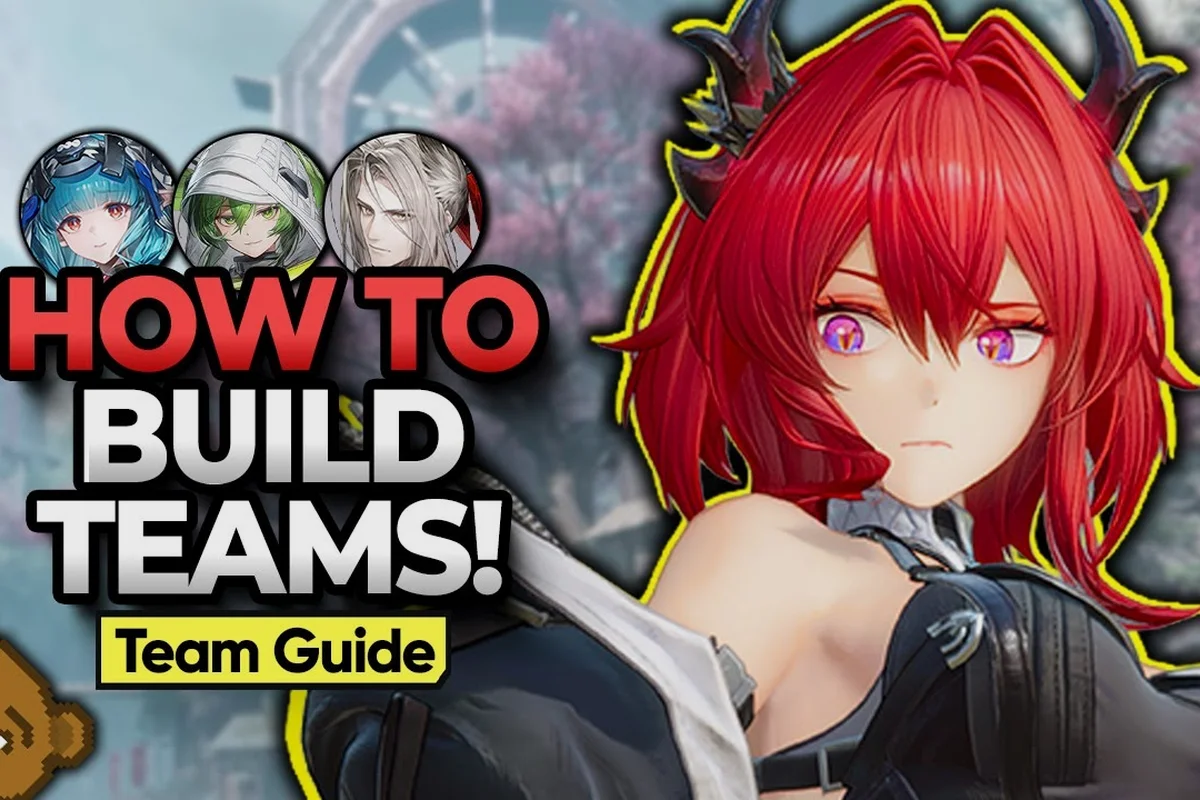
Arknights: Endfield How to Build a Team: 4-Operator Setup
Learn Arknights: Endfield how to build a team from scratch — pick four operators, budget the shared gauge pool, and clear early content without rerolls.
All Articles
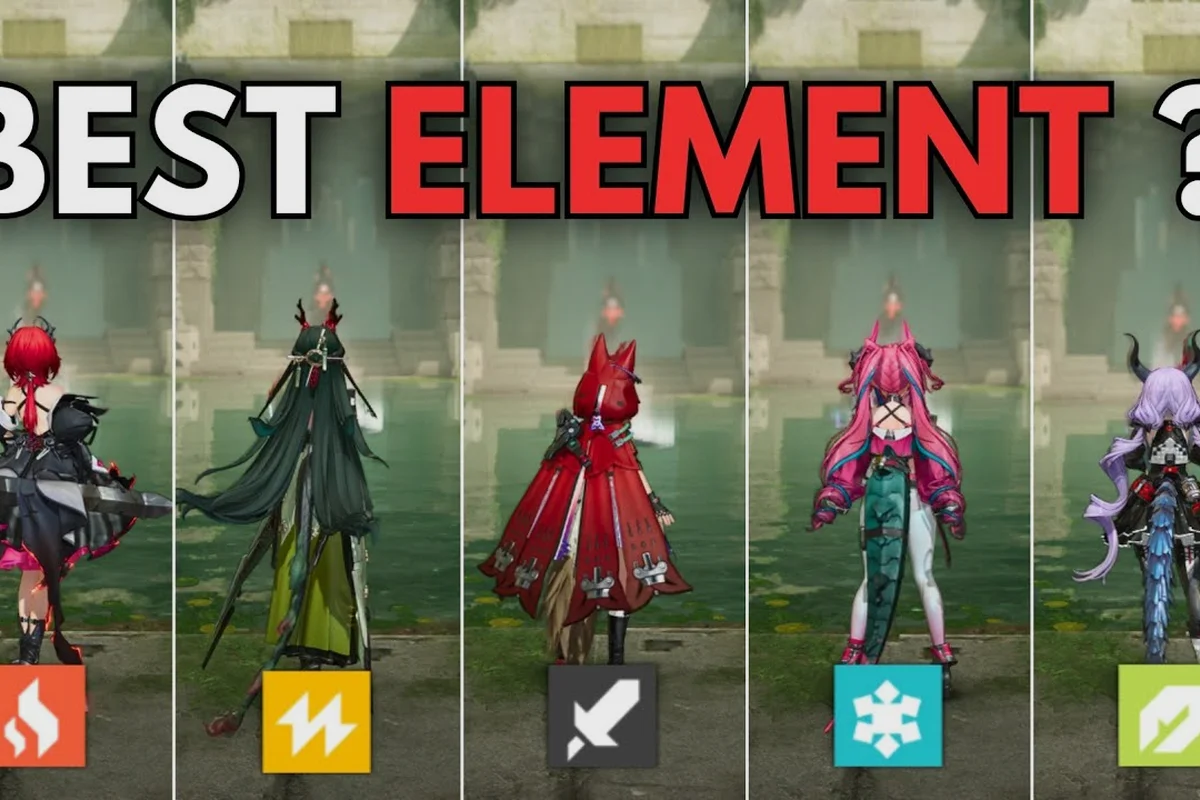
Arknights: Endfield Mono Element Team: F2P Builds & Boss Picks
Build a free-to-play Arknights: Endfield mono element team that triggers Arts reactions, covers Cryo and Heat variants, and clears bosses without six-stars.
Arknights: Endfield Team Synergy Guide: Roles & Pairings
Master Arknights: Endfield team synergy by matching class roles and elements into pairings that turn four operators into one winning engine.

Arknights: Endfield Teams: Best Comps & Gauge Economy
Build smarter Arknights: Endfield teams around the shared three-gauge economy — find the cheap fourth slot, chain combos, and top the damage charts.